
< 티처블 머신(Teachable Machine) >
# 티처블 머신(Teachable Machine)은 구글이 개발한 웹 기반의 머신러닝 플랫폼
# 이 플랫폼은 사용자가 간단한 인터페이스를 통해 이미지, 음성 또는 동작과 같은 데이터를 입력하고, 이를 기반으로 모델을 학습시킬 수 있고, 사용자는 이를 통해 기계에게 어떤 입력이 어떤 출력을 가져오는지를 가르칠 수 있다.
# https://teachablemachine.withgoogle.com/
Teachable Machine
Train a computer to recognize your own images, sounds, & poses. A fast, easy way to create machine learning models for your sites, apps, and more – no expertise or coding required.
teachablemachine.withgoogle.com

< 질병 데이터를 가지고 티처블 머신을 이용하여 학습 예측해 보자 >
# 시작하기를 누르고, 새 프로젝트에서 '이미지 프로젝트' 생성

# 대부분 표준 이미지 모델로 사용하면 문제없이 학습된다.

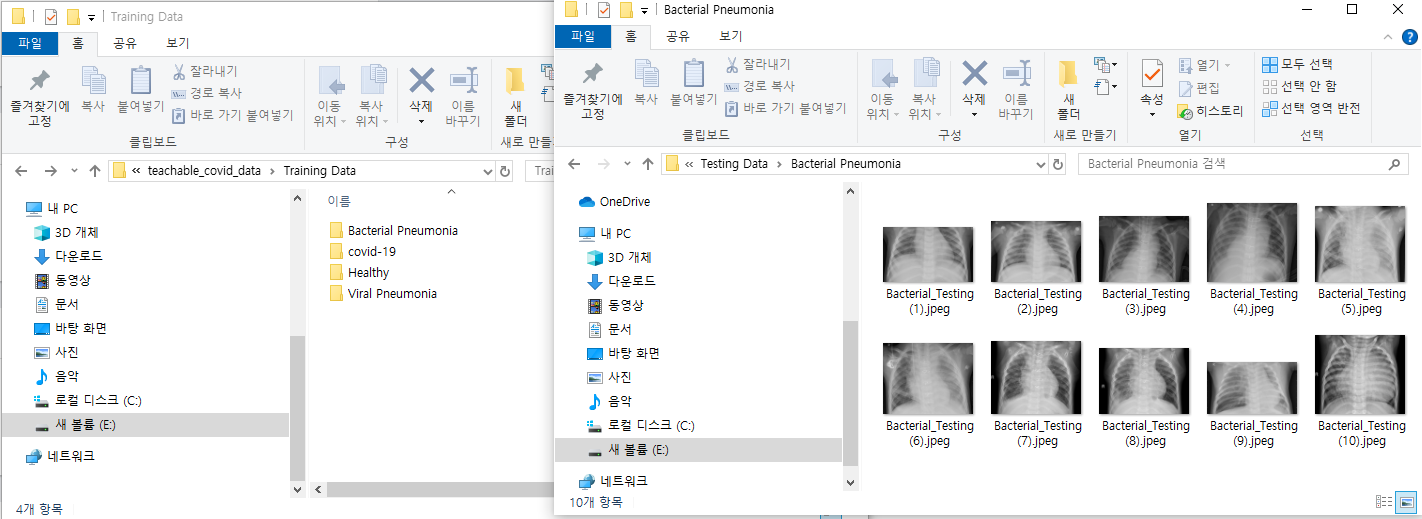
# 내가 사용할 이미지 데이터는
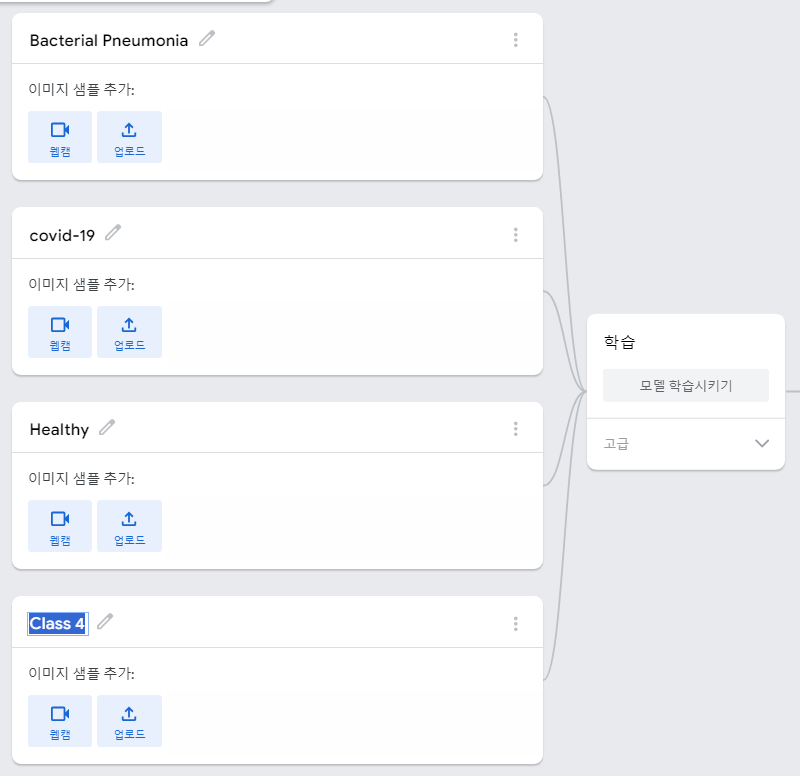
# Bacterial Pneumonia, covid-19, Healthy, Viral Pneumonia 네가지 유형의 이미지 데이터를 학습시킬 예정
# 학습 데이터 유형 개수와 동일하게 클래스를 추가하여 명칭도 맞춰주는것이 좋다.
# 업로드를 누르고 이미지 파일을 직접 드래그해 넣으면 된다.
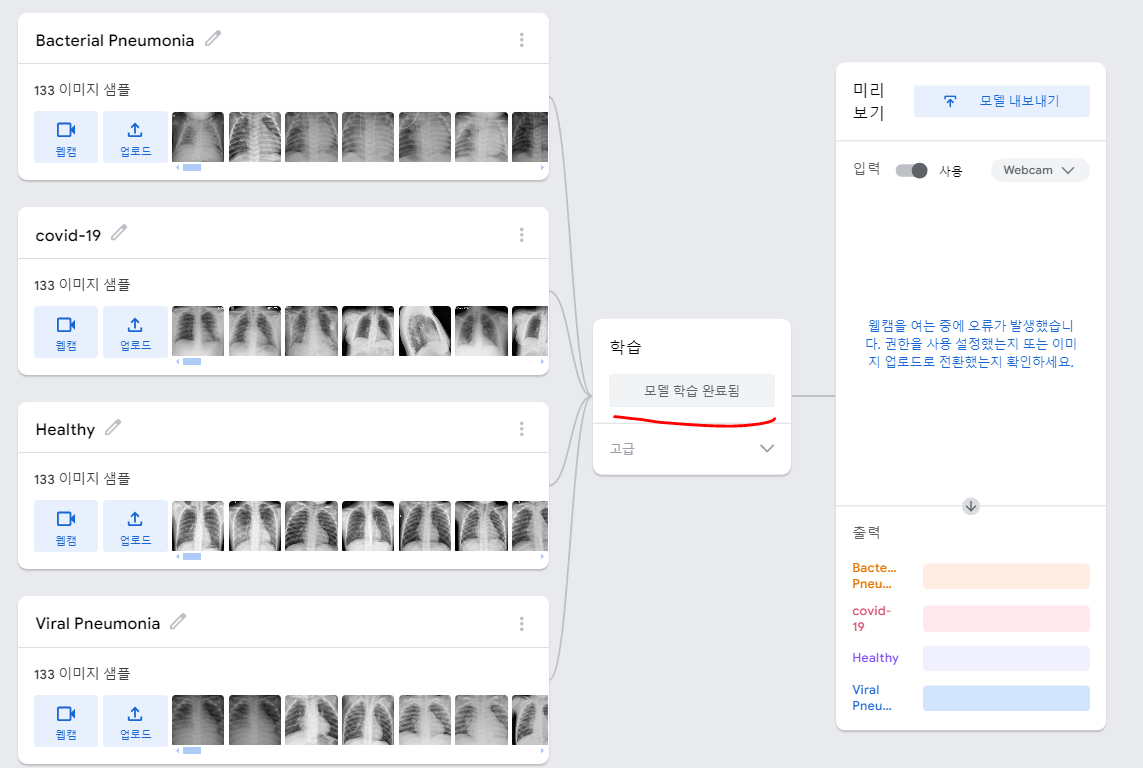
# 4가지 모두 동일하게 첨부후 데이터 학습을 실행
# 학습중에는 탭을 전환하거나 끄면 안되고 해당 창을 켜놓은채로 유지해야 한다.
# 고급설정을 보면 에포크 및 배치크기도 설정할수있고,
# 클래스별 정확도와 혼동 행렬도 확인할 수 있다.

# 한번 학습된 머신으로 예측을 진행해보자.
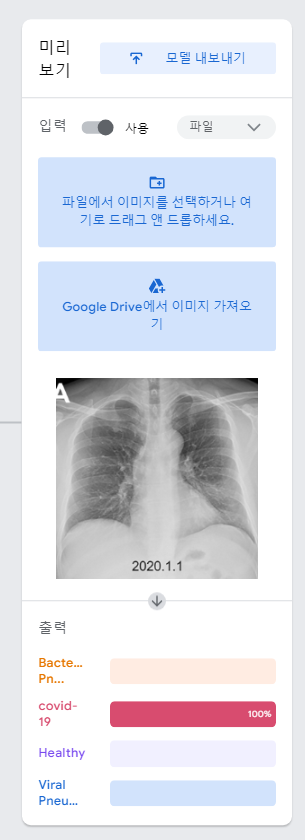
# 사진 파일을 올려서 테스트할 것이니 유형을 파일로 변경

# 테스트용으로 따로 분류해둔 파일에서 covid-19 파일을 넣어보자
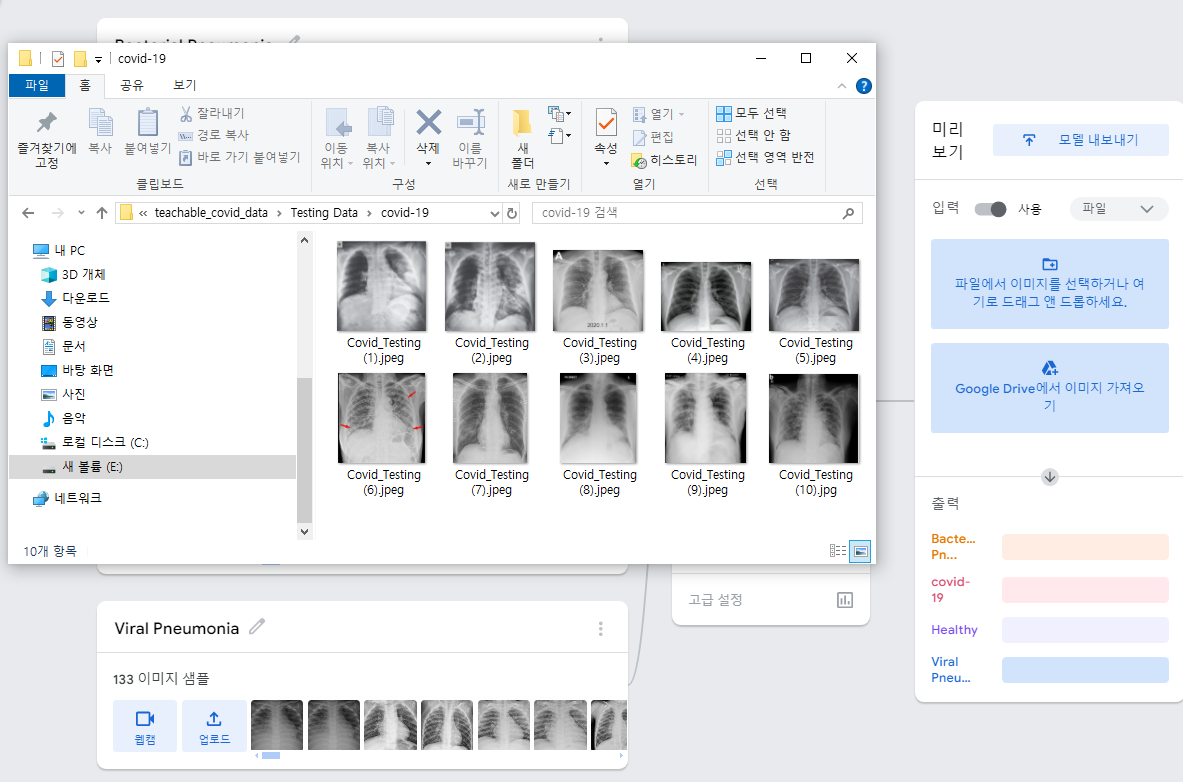
# 잘맞춰내는걸 볼수있다.
# 이제 학습된 머신의 코드를 노트북 환경(통합 개발 환경(IDE) 에서 실행해 보자.
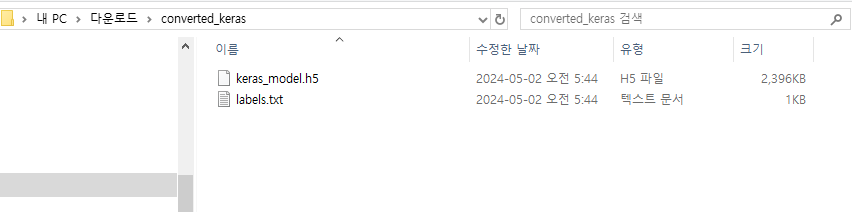
# 모델 내보내기를 하여 모델을 다운받는다. 원하는 경로에 h5. label 파일 확인

# 나는 주피터노트북에서 실행해보기 위해 해당 코드를 복사해왔고, 다른 환경에서 실행하고싶을경우 맞는 코드로 복사해서 사용하면 된다.

# 우선 임포트문을 먼저 실행해주고
from keras.models import load_model # TensorFlow is required for Keras to work
from PIL import Image, ImageOps # Install pillow instead of PIL
import numpy as np
# Disable scientific notation for clarity
np.set_printoptions(suppress=True)
# 다운받은 모델을 load로 불러와서 실행하여야 함.
# Load the model
model = load_model("keras_model.h5", compile=False)
# Load the labels
class_names = open("labels.txt", "r").readlines()
# Create the array of the right shape to feed into the keras model
# The 'length' or number of images you can put into the array is
# determined by the first position in the shape tuple, in this case 1
data = np.ndarray(shape=(1, 224, 224, 3), dtype=np.float32)
# () 파라미터 안에 파일은 평가하려는 파일이 바뀔때마다 경로 및 파일명을 바꿔주어야함.
# Replace this with the path to your image
image = Image.open("/content/viral_testing (1).jpeg").convert("RGB")
# resizing the image to be at least 224x224 and then cropping from the center
size = (224, 224)
image = ImageOps.fit(image, size, Image.Resampling.LANCZOS)
# turn the image into a numpy array
image_array = np.asarray(image)
# Normalize the image
normalized_image_array = (image_array.astype(np.float32) / 127.5) - 1
# Load the image into the array
data[0] = normalized_image_array
# Predicts the model
prediction = model.predict(data)
index = np.argmax(prediction)
class_name = class_names[index]
confidence_score = prediction[0][index]
# Print prediction and confidence score
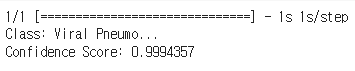
print("Class:", class_name[2:], end="")
print("Confidence Score:", confidence_score)
# 99퍼센트로 잘 예측한걸 볼수있다.
다음 실습으로 한번더 진행